Wellington Tile-to-Metal Re-Roof Project
A Genuine Before, During and After Case Study
Home / Roofing Guides and Projects / Wellington Tile-to-Metal Re-Roof Project: Before, During and After


By the Metal Roofing Solutions team
Published 6 August 2026 · Project case study
This Wellington home started with a tiled roof and finished with dark long-run metal roofing. We completed the roofing work shown here, and the photographs record the job before work began, part-way through the conversion and after completion.
A finished roof is important, but the middle photograph tells the fuller story. It shows that a tile-to-metal re-roof is not a quick cover-up. The job involves safe access, staged removal, preparation and careful detailing before the new roof can work as one complete weatherproof system.
| Project | Residential tile-to-metal re-roof |
|---|---|
| Setting | Hillside property in Wellington |
| Starting roof | Tiled roof |
| Finished roof | Dark long-run metal roofing |
| Roof details visible | Hips, ridges, several roof planes, a chimney and other penetrations |
| Site access visible | Perimeter scaffolding and working platforms |
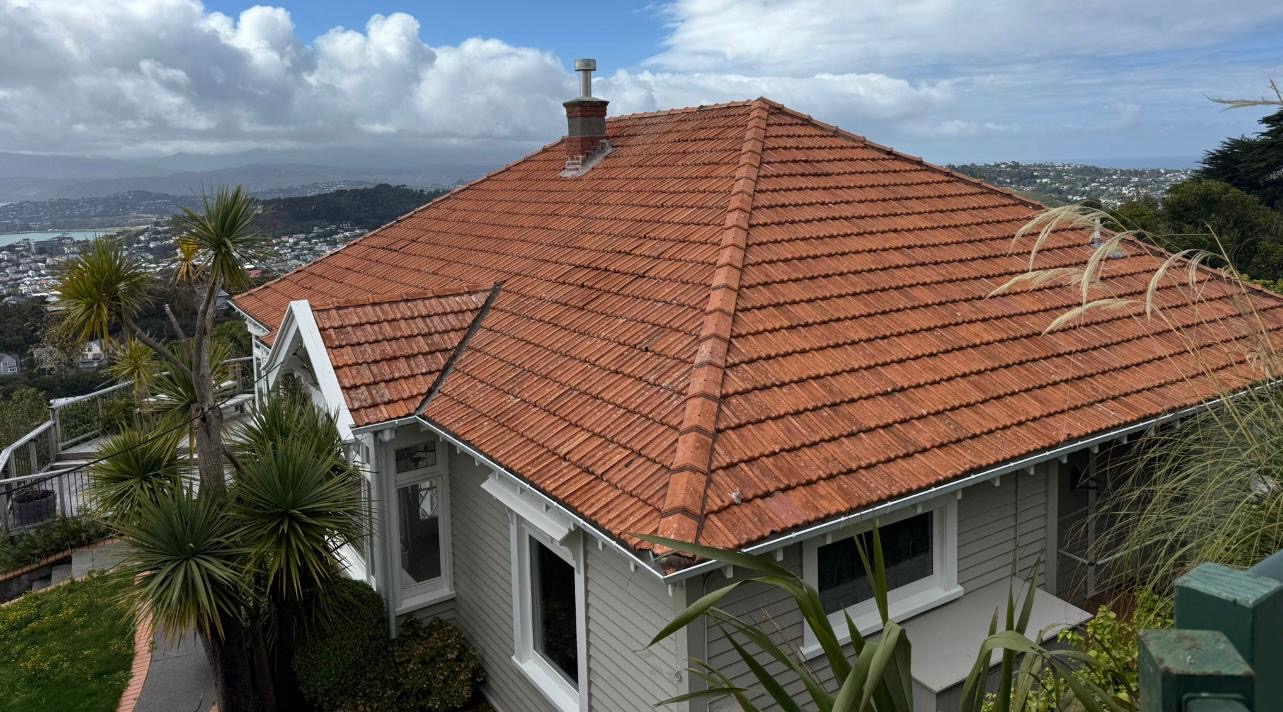
The first photograph shows the roof we started with: a substantial hipped tile roof with a chimney and several connected roof planes. When we look at a roof like this, we are not just measuring square metres. Every hip, ridge, penetration, eave and change in direction affects the scope and the finishing details.
The home is on a hillside, so access also matters. The photographs cannot tell us what was below the tiles or why the owner chose to re-roof; those points need to come from an inspection and the agreed project scope. Our Wellington tile-to-metal conversion guide explains the questions worth asking before work begins.
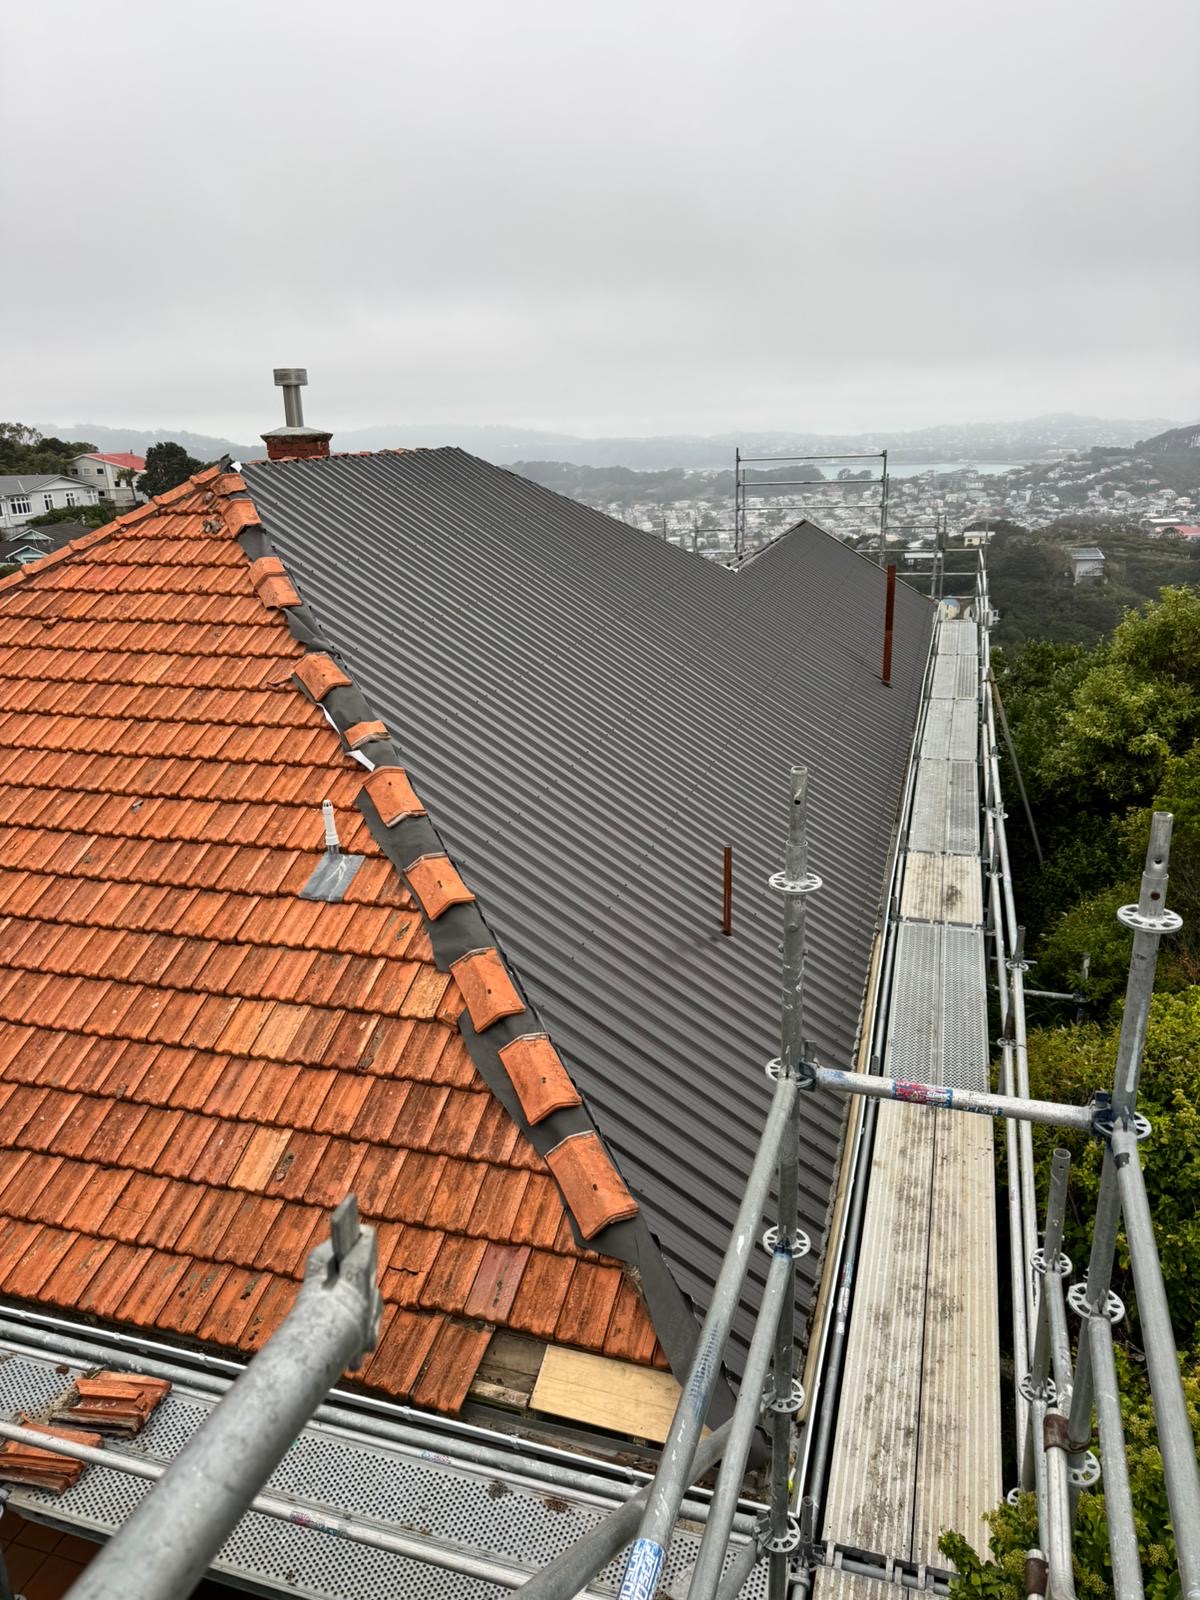
This is the photograph that best explains the job. Part of the original tiled roof is still in place while long sheets of dark profiled metal have been installed on the adjoining roof plane. The scaffolding around the edge gives the team a controlled way to reach and work around the roof.
On Wellington jobs, the work sequence and weather plan matter. Removing the roof in stages can limit how much of the home is open at one time, but the right approach depends on the roof and the forecast. It is also why we cannot price a re-roof accurately from floor area alone—height, access and roof shape are all part of the job.
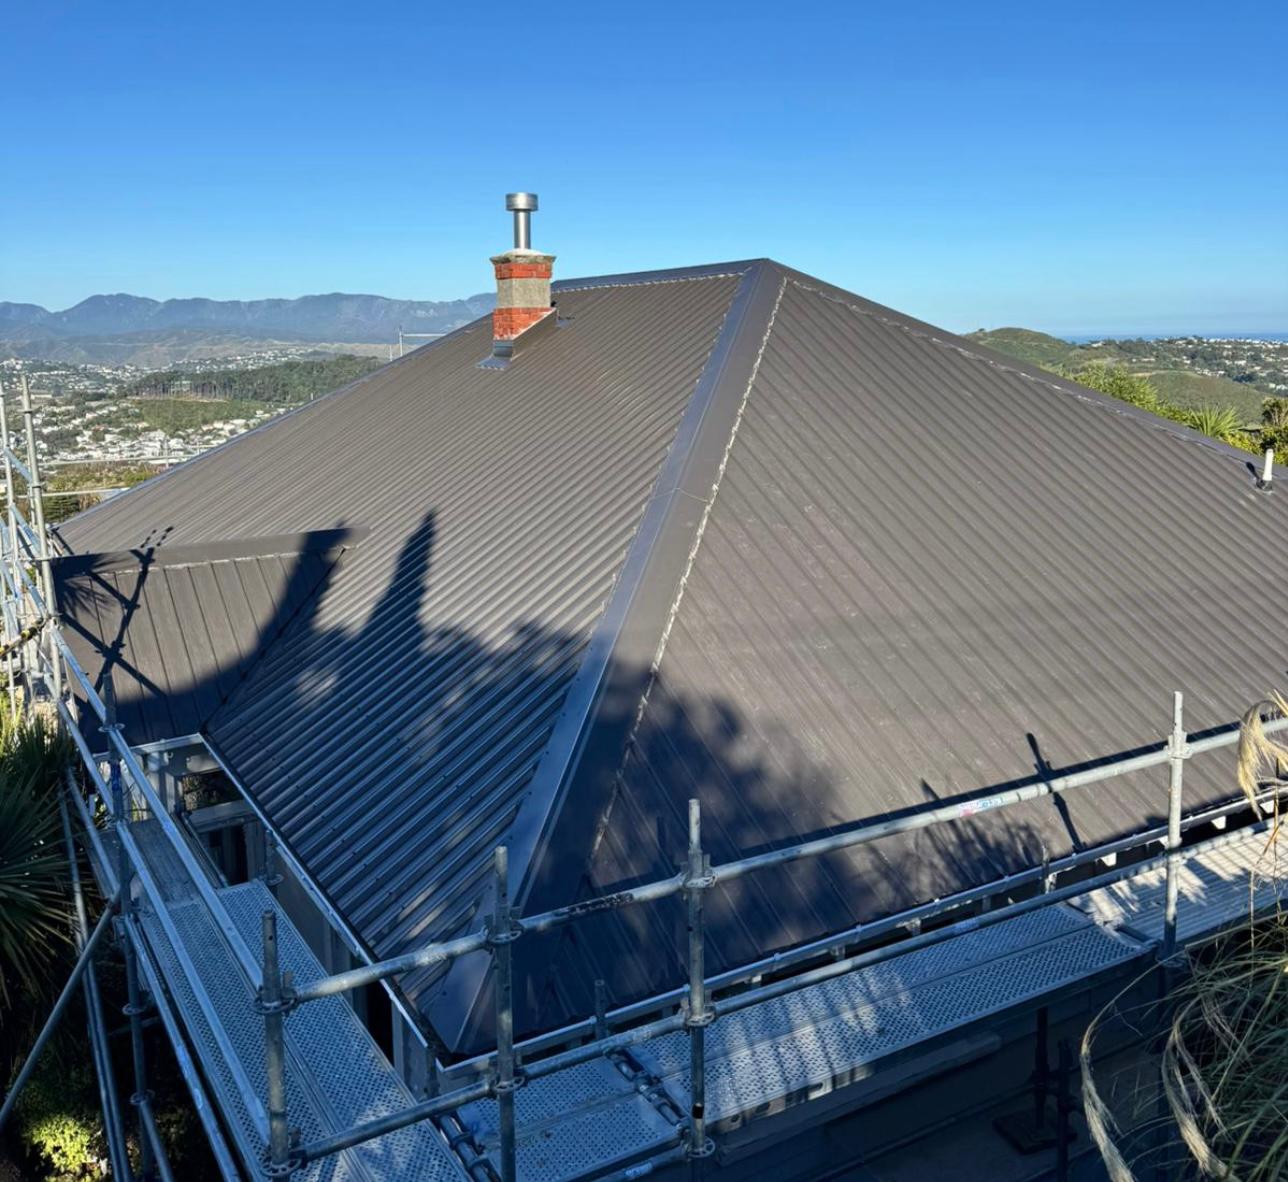
The finished photograph shows the scale of the change. The long-run sheets now follow the main roof planes, with the hip and ridge cappings, chimney junction and smaller sections brought together as part of the completed roof.
We keep progress photographs because they show far more than a polished final image. They give the homeowner a useful visual record and help explain where the work went. The written quote and completion information should still identify the exact product, coating, fasteners, flashings and warranty conditions.
We start by looking at the existing roof, the visible structure, access, drainage and the junctions that will need attention. A clear quote should say what will be removed, what will be installed, how access and temporary protection are handled, and what happens if concealed damage is found.
For more detail, read our concrete tile to metal roof conversion guide or see our metal roofing and re-roofing service.
If you are considering a tile-to-metal re-roof in the Wellington region, send us the property address, anything you already know about the roof, and a few safe ground-level photographs. We can then talk through the sensible next step.
Request a roofing quote or call 022 155 3184.